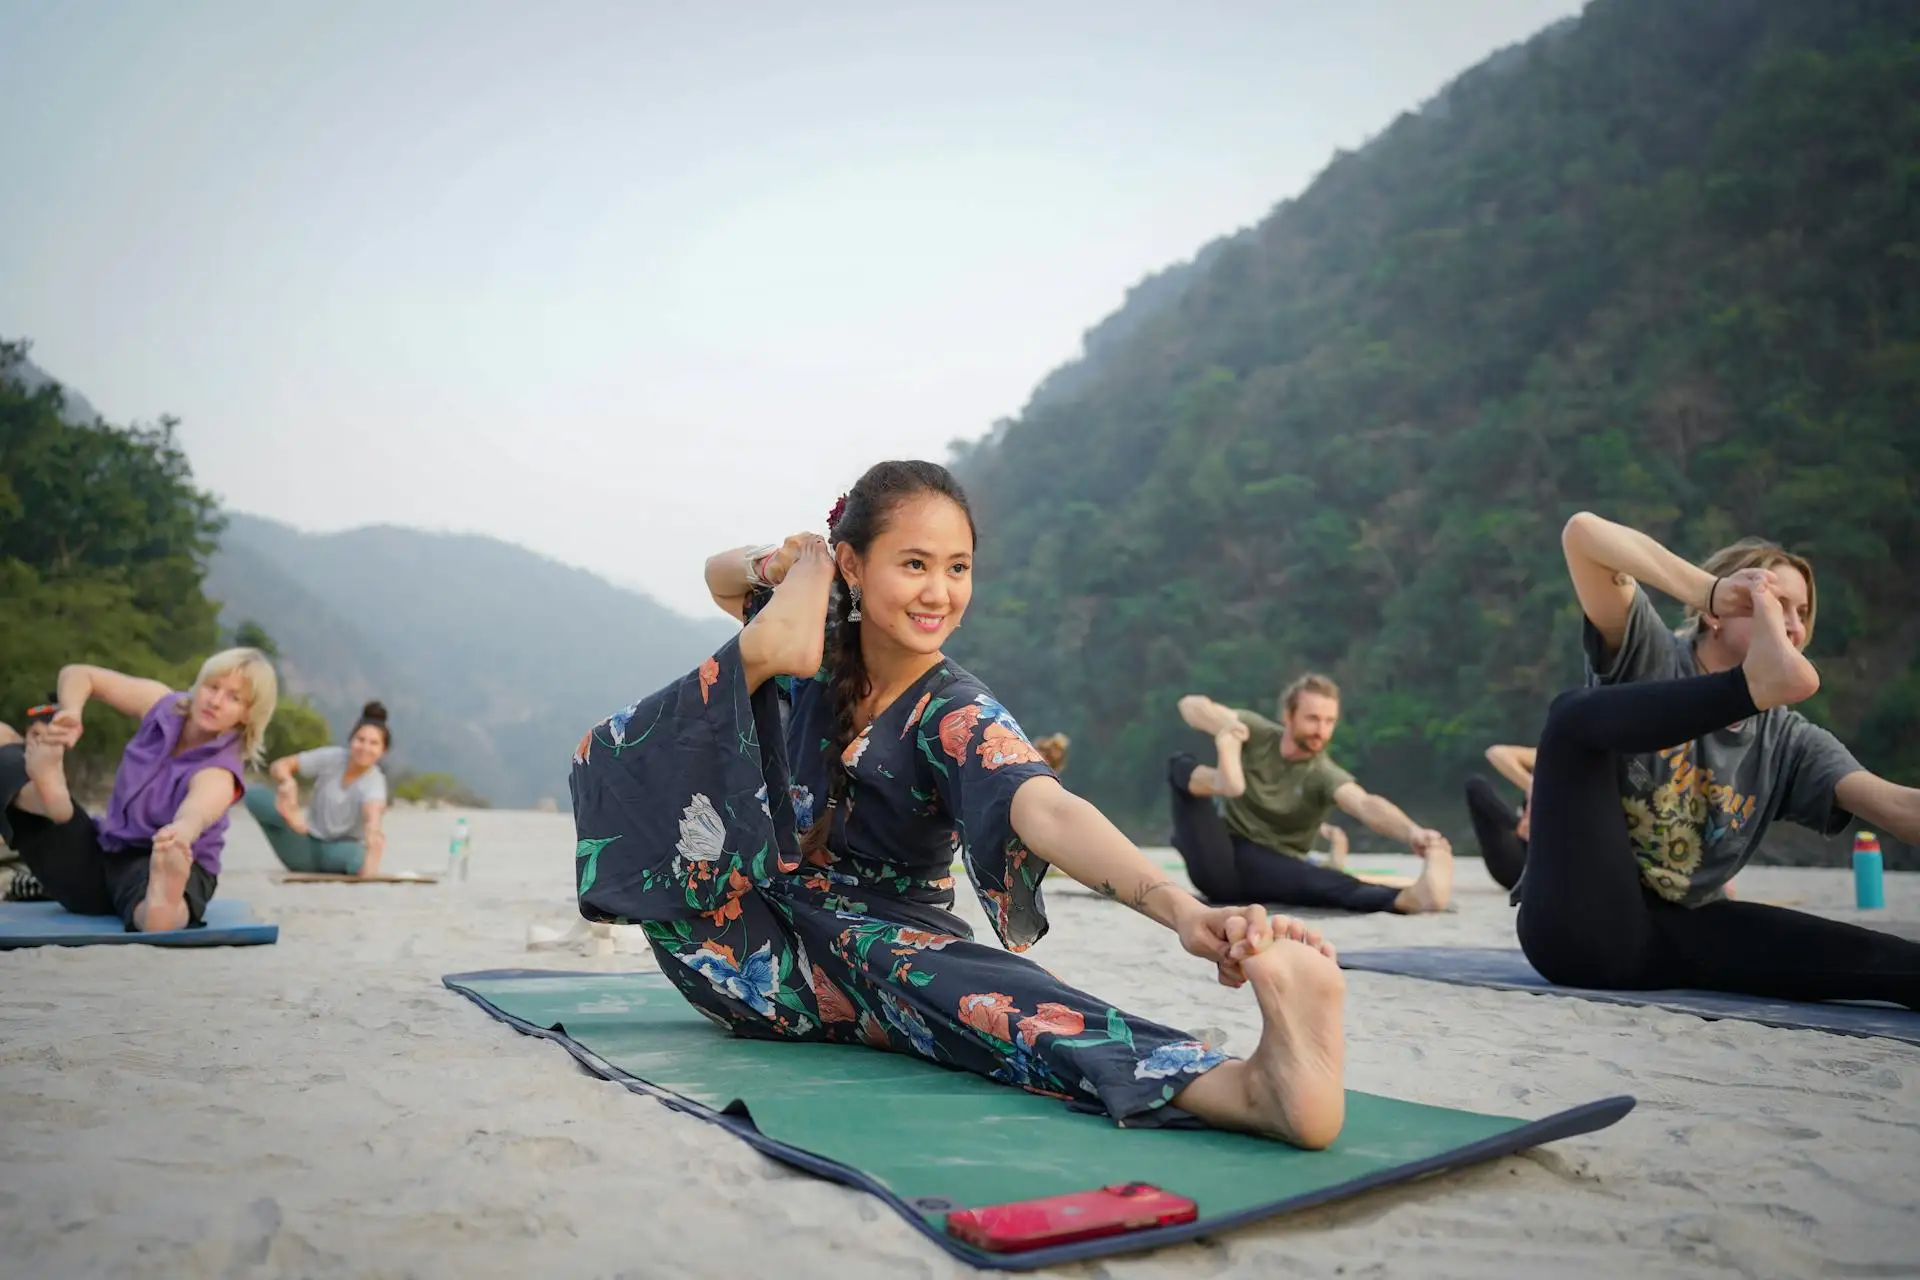

Seated asanas are often where yoga practice begins. Before the backbends, inversions, and standing sequences, most traditional yoga practice starts on the ground. Sitting yoga postures form the foundation for both meditation and pranayama, which is why every classical yoga text covers them first.
This guide covers 12 essential sitting yoga postures, what each one does, how to do it correctly, and who should be careful with it. The poses here suit every level, from someone who has never practiced before to someone who has been on the mat for years.
What Are Sitting Yoga Postures?
Sitting yoga postures are asanas where one or both sit bones stay grounded on the floor. The body is supported from below rather than balanced on the feet, which is why these poses are stable enough to hold for several minutes without much effort.
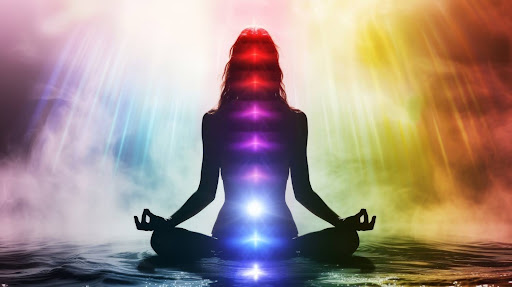
Patanjali's Yoga Sutras define asana as sthira sukham asanam, a seat that is steady and comfortable. That definition points directly to seated postures. The original purpose of asana in classical yoga was to prepare the body to sit still long enough for meditation and pranayama to actually work, which is explained in the 8 limbs of yoga, where asana supports deeper practices. Sitting poses are still where that preparation begins. Classical Hatha Yoga texts describe over 60 sitting asanas.
12 Essential Sitting Yoga Postures with Step-by-Step Instructions
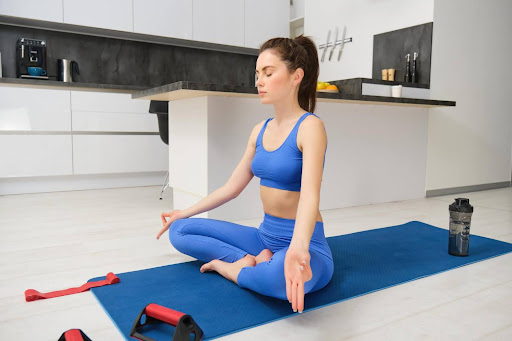
1. Sukhasana: Easy Pose
Sit on your mat and cross your shins loosely. Each foot rests under the opposite knee. Press both sitting bones into the floor, sit up tall, and relax your shoulders. Hands rest on your knees.
If your lower back rounds, sit on a folded blanket. Even a small lift under the hips makes sitting upright much easier.
What it does: Calms the mind and creates a stable base for breathing and meditation practice.
Avoid if: You have sciatica or SI joint pain. Use a low chair with feet flat on the floor instead.
2. Padmasana: Lotus Pose
Sit with legs extended. Bend the right knee and place the right foot high on the left thigh, sole facing up. Do the same with the left foot on the right thigh. Both knees move toward the floor. Sit tall, hands on knees.
The rotation must come from the hip, not the knee. If you feel pressure in the knee, the hips are not ready. Come out immediately.
What it does: Creates the most stable seat for long meditation. Keeps the spine naturally upright without muscular effort.
Avoid if: You have knee pain, knee surgery history, or tight hips. Work up to this gradually over months.
3. Ardha Padmasana: Half Lotus Pose
Sit cross-legged. Place one foot high on the opposite thigh, sole facing up. The other foot stays tucked under the opposite knee. Sit tall and switch sides after a few minutes.
This is the correct stepping stone between Easy Pose and full Lotus. Spend time here before attempting Padmasana.
What it does: Opens the hips progressively without putting the knees at risk.
Avoid if: You feel pain in the knee of the folded leg. Hip discomfort eases with time, but knee pain is a stop signal.
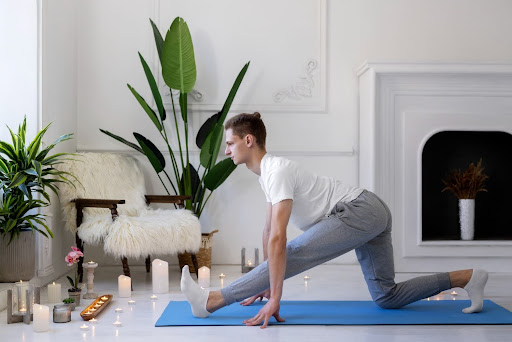
4. Vajrasana: Thunderbolt Pose
Kneel with knees together and lower the hips onto the heels. Tops of the feet press flat on the floor. Sit upright, hands on thighs. Place a rolled blanket between the calves and thighs if the ankles feel tight.
This is the only yoga pose recommended right after eating. Sitting here for 5–10 minutes after a meal supports digestion and reduces bloating.
What it does: Aids digestion, builds ankle flexibility, and improves lower back posture.
Avoid if: You have varicose veins, a knee replacement, or swelling in the knee joint.
5. Baddha Konasana: Butterfly Pose
Sit tall and bring the soles of your feet together. Let the knees fall open to the sides. Hold your feet with both hands. Do not push the knees down, let them drop naturally with each breath. To go deeper, hinge forward slowly from the hips.
Sitting on a blanket helps the knees release more easily.
What it does: Opens the inner thighs and hips, improves pelvic circulation, and builds the flexibility needed for cross-legged sitting.
Avoid if: You have a groin strain or inner knee pain. Support each thigh with a folded blanket.
6. Paschimottanasana: Seated Forward Bend
Sit with legs straight, feet flexed. Inhale and sit tall. Exhale and hinge forward from the hips, not the waist. Reach for your feet or hold a strap looped around the soles.
The fold comes from the hips, not from rounding the spine. A long back with slightly bent knees stretches the hamstrings far more effectively than collapsing forward.
What it does: Stretches the hamstrings, calves, and spine. It has a calming effect on the nervous system and is best practiced toward the end of a session.
Avoid if: You have a slipped disc or sciatica. Keep a generous bend in the knees and only go as far as the back stays flat.
7. Janu Sirsasana: Head-to-Knee Pose
Sit with legs extended. Bend one knee and press the sole against the inner thigh of the straight leg. Inhale tall, then exhale and fold forward over the straight leg. Use a strap if you cannot reach the foot comfortably. Hold 1–2 minutes each side.
Most people find one side noticeably tighter. That asymmetry is useful information; it shows where your body needs more consistent work.
What it does: Stretches each side of the hamstrings and lower back independently, correcting imbalances that build up from daily habits.
Avoid if: You have knee discomfort on the bent leg side. Place a folded blanket under that knee for support.
8. Ardha Matsyendrasana: Half Spinal Twist
Sit with legs straight. Bend the right knee and plant the right foot outside the left knee. Inhale and sit tall. Exhale and twist to the right, left elbow presses against the outside of the right knee, right hand on the floor behind you. Look over the right shoulder. Hold 30–60 seconds, then switch sides.
Always lengthen the spine on the inhale before twisting on the exhale. Twisting from a slumped position compresses the spine rather than releasing it.
What it does: Rotates the spine, releases back tension, and gently massages the digestive organs.
Avoid if: You are pregnant (second trimester onward) or have a disc condition. Twist only as far as feels comfortable.
9. Gomukhasana: Cow Face Pose
Stack the right knee directly over the left so both knees are centered. Both feet point out to the sides. Raise the right arm, bend the elbow, and drop the hand behind the upper back. Bring the left arm behind from below and clasp fingers together. Use a strap if the hands do not meet. Hold 1–2 minutes each side.
What it does: Opens the outer hips and stretches the shoulders simultaneously, particularly useful for desk workers with tight hips and rounded shoulders.
Avoid if: You have a shoulder or rotator cuff injury. Do the leg position only and skip the arm bind.
10. Dandasana: Staff Pose
Sit with both legs extended, feet together and toes pointing up. Press palms flat on the floor beside the hips. Push through the hands, straighten the arms, and lift through the crown of the head. Pull the belly in gently.
This may look simple, but it requires active engagement. The goal is an actively upright spine, think of it as standing, but seated.
What it does: Strengthens the core and spinal muscles and builds the postural habits that carry into every other seated pose.
Avoid if: Your lower back rounds heavily. Sit on a folded blanket to tilt the pelvis forward first.
11. Navasana: Boat Pose
Sit with knees bent, feet flat. Lean back slightly, spine long, not collapsed. Lift the feet until shins are parallel to the floor. Extend the arms forward. For the full pose, straighten the legs into a V shape. Hold 20–30 seconds, rest, repeat 2–3 times.
If the lower back rounds the moment you lift the feet, keep the knees bent. Strength builds faster with good form than with straight legs and a collapsed back.
What it does: Builds core and hip flexor strength, and teaches the spine to stay active under load.
Avoid if: You are pregnant, recovering from abdominal surgery, or have lower back pain.
12. Balasana: Child's Pose
From kneeling, bring big toes together and let the knees open wide. Exhale and walk the hands forward, lowering the forehead to the floor. Arms stretch forward or rest alongside the body. Breathe slowly into the lower back. Stay 1–5 minutes.
Rest the forehead on stacked fists if it does not reach the floor. Place a blanket between thighs and calves for knee comfort.
What it does: Releases the lower back, hips, and thighs. One of the most effective poses for calming the nervous system after an intense practice.
Avoid if: You are in later stages of pregnancy. Widen the knees to make space and avoid compressing the belly.
Key Benefits of Sitting Yoga Postures
Sitting yoga postures may look simple, but their impact on the body and mind is deep and long-lasting. When practised regularly, these poses support both physical health and mental clarity in a balanced way.
- Improved flexibility
Many seated yoga poses gently open the hips, stretch the hamstrings, and lengthen the spine. Over time, this reduces stiffness and increases overall mobility, especially for people who sit for long hours. - Better posture and spinal alignment
Sitting yoga asanas train the body to sit upright with awareness. This helps correct slouching, supports the natural curve of the spine, and reduces strain on the lower back and shoulders. - Enhanced digestion
Certain sitting postures in yoga, especially Vajrasana, are known to support digestion. Practising this pose after meals can help reduce bloating and improve how the body processes food. - Stress relief and nervous system calming
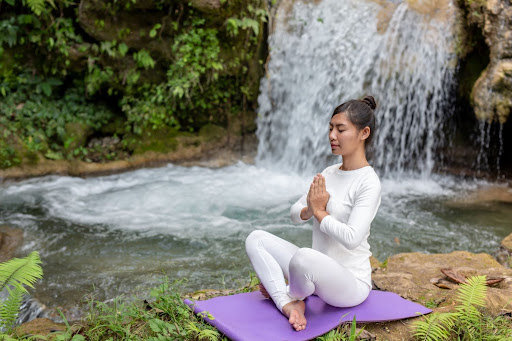
Seated poses naturally encourage slower breathing and stillness. This signals the nervous system to relax, making them especially helpful for reducing stress and anxiety, one of the mental health benefits of yoga. - Foundation for meditation and pranayama
A steady and comfortable yoga sitting position is essential for meditation and breathwork. These postures prepare the body to sit for longer periods without discomfort, allowing deeper focus. - Suitable for all ages and fitness levels
From beginners to experienced practitioners, seated yoga poses can be adapted easily. With simple modifications, they are accessible to seniors, pregnant women, and even those recovering from injury. - Core and lower back strengthening
While many poses appear passive, they actively engage the core and support muscles of the lower back, building strength gradually without strain.
These benefits become even more noticeable when the practice is guided properly. In traditional yoga settings like Rishikesh, students often experience faster progress because of consistent practice, proper alignment, and experienced teaching.
Sitting Yoga Poses – Benefit Mapping Table
Here is a quick overview of important sitting yoga asanas and their primary benefits. This table helps you choose the right pose based on your goal.
| Pose Name | Primary Benefit | Difficulty Level | Ideal For |
|---|---|---|---|
| Sukhasana (Easy Pose) | Calms the mind, improves posture | Beginner | Meditation, daily sitting practice |
| Padmasana (Lotus Pose) | Deepens meditation, opens hips | Advanced | Experienced practitioners |
| Ardha Padmasana (Half Lotus) | Improves hip flexibility | Intermediate | Progressing toward full lotus |
| Vajrasana (Thunderbolt Pose) | Aids digestion | Beginner | After meals, beginners |
| Baddha Konasana (Butterfly Pose) | Opens hips and inner thighs | Beginner | Flexibility, beginners |
| Paschimottanasana (Seated Forward Bend) | Stretches spine and hamstrings | Intermediate | Flexibility, calming the mind |
| Janu Sirsasana (Head-to-Knee Pose) | Improves digestion and flexibility | Beginner–Intermediate | Gentle stretching |
| Ardha Matsyendrasana (Half Spinal Twist) | Improves spine mobility | Intermediate | Spine health, digestion |
| Gomukhasana (Cow Face Pose) | Opens shoulders and hips | Intermediate | Upper body tension |
| Dandasana (Staff Pose) | Improves posture and core strength | Beginner | Foundation pose |
| Navasana (Boat Pose) | Strengthens core muscles | Intermediate | Core strength |
| Balasana (Child’s Pose) | Relaxes body and mind | Beginner | Stress relief, recovery |
Who Should Practise Sitting Yoga Postures?
Sitting yoga postures are suitable for almost everyone because they are stable, adaptable, and easy to modify. Whether someone is just starting or has been practising for years, seated yoga poses offer a safe way to build strength and awareness.
- Beginners: For those new to yoga, sitting yoga asanas are the best place to begin. Poses like Sukhasana, Vajrasana, and Dandasana help you understand basic alignment, breathing, and posture without the challenge of balance.
- People with limited mobility or balance issues: Since these poses are done close to the ground, they reduce the risk of falling. This makes them a good option for people recovering from injury or those who find standing poses difficult.
- Office workers and people with sedentary lifestyles: Long hours of sitting often lead to tight hips and lower back discomfort. Practising sitting postures in yoga can help release this tension and improve posture over time.
- Seniors and pregnant women: With simple modifications and support like cushions or blocks, seated yoga poses can be practised safely. They provide gentle movement without putting too much pressure on the joints.
- Those preparing for meditation and pranayama: A steady yoga sitting position is essential for stillness. These poses train the body to sit comfortably for longer durations, which is important if you want to start simple breathing practices or beginner pranayama techniques.
Even advanced practitioners continue to include sitting yoga poses in their routine. They are often used to slow down the practice, cool the body, and bring the focus inward.
Safety Tips and Contraindications
Sitting yoga postures are generally safe, but it is still important to practise them with awareness. Small alignment mistakes or pushing too hard can lead to discomfort, especially over time.
- Start with a gentle warm-up: Before moving into seated yoga poses, loosen the hips, knees, and spine with light stretches. This prepares the body and reduces the risk of strain.
- Use props when needed: A folded blanket under the hips, a cushion, or yoga blocks can make a big difference. Props help you maintain a comfortable yoga sitting position without forcing the body.
- Avoid forcing the pose: Flexibility builds gradually. If a pose feels painful, especially in the knees or lower back, come out of it slowly. Sitting yoga asanas should feel steady and comfortable, not forced.
- Be mindful of specific conditions: People with knee injuries should be careful with poses like Padmasana and Vajrasana. Those with lower back issues or herniated discs should avoid deep forward bends and twists unless guided properly. During pregnancy, especially in later stages, deep twists and intense forward folds should be avoided.
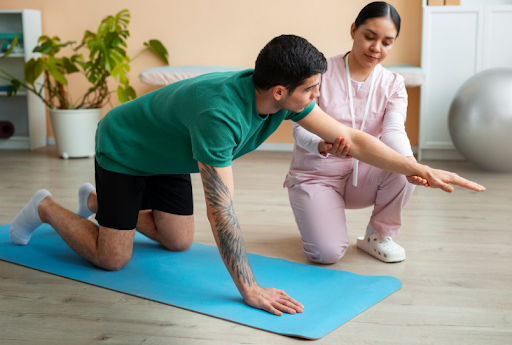
- Learn from a qualified teacher: Proper guidance is important, especially for more advanced seated yoga poses. A trained teacher can correct alignment, suggest modifications, and help prevent injury.
Taking a careful and patient approach ensures that the benefits of sitting yoga postures can be experienced safely and consistently.
How to Start Practising Sitting Yoga Postures (Beginner Tips)
Starting with sitting yoga postures does not need to be complicated. A simple and consistent approach works best, especially in the beginning.
Begin with basic poses: Start with easy and stable seated yoga poses like Sukhasana, Dandasana, and Vajrasana. These help you get comfortable with posture, breathing, and body awareness without strain.
Keep your practice short and regular: Even 10 to 15 minutes daily is enough in the beginning. Regular practice matters more than long sessions. Over time, your body will naturally become more flexible and steady.
Use support when needed: Do not hesitate to sit on a folded blanket or use cushions. This helps keep the spine upright and reduces pressure on the hips and knees, especially for beginners.
Focus on your breath: Slow and steady breathing is an important part of sitting yoga asanas. It helps the body relax into each pose and improves concentration.
Progress gradually: Do not rush into advanced poses like Padmasana or deep twists. Build flexibility step by step. Your body will open up with consistent practice.
Learn in a structured way: While self-practice is helpful, learning from experienced teachers gives better results. A structured programme like a 200-hour yoga teacher training helps you understand alignment, technique, and the purpose behind each pose.
With patience and consistency, sitting yoga poses for beginners can become a strong foundation for a deeper yoga practice.
Learn Sitting Yoga Asanas in Rishikesh – The Yoga Capital
Rishikesh is known for its traditional approach to yoga, where the focus is on building strong basics. Sitting yoga asanas are taught with attention to posture, breath, and stillness.
Learning here means practising under experienced teachers who guide you step by step. This helps improve alignment and makes your practice more effective.
If you want to deepen your understanding, exploring yoga and meditation practices in Rishikesh or joining a structured training can give you a solid foundation.
Related Yoga Guides
Frequently Asked Questions (FAQ)
Sukhasana, Vajrasana, and Dandasana are good starting points. They are simple, stable, and help build basic posture and flexibility without putting too much pressure on the body.
Yes, but only Vajrasana is recommended after meals. It helps with digestion. Other seated yoga poses should be practised at least 2 to 3 hours after eating.
Beginners can hold each pose for about 30 seconds to 1 minute. With regular practice, this can be increased to 3 to 5 minutes. Meditation poses can be held longer if comfortable.
Yes, many sitting postures in yoga help improve posture and gently stretch the spine. This can reduce stiffness and support the lower back when practised correctly.
Sukhasana is a simple cross-legged pose that most people can do easily. Padmasana is more advanced and requires greater hip flexibility, with the feet placed on opposite thighs.
Yes, with proper modifications. Simple poses like Sukhasana and Baddha Konasana are generally safe. Deep twists and strong forward bends should be avoided, especially in later stages of pregnancy.
Conclusion
Sitting yoga postures form the base of a steady and balanced yoga practice. They are simple to start with, easy to adapt, and offer real benefits for both the body and mind.
From improving flexibility and posture to supporting relaxation and focus, these poses fit easily into daily life. The key is to start with basic seated yoga poses and practise them regularly without rushing.
If you want to go deeper, learning under proper guidance can make a real difference. At Yog School India, experienced teachers guide you step by step so you can build a strong foundation and practise with confidence.